
A Beginner’s Guide to Countersinks and Flush-Fitting Screws
Screws that won’t sit flush usually have a mismatch between screw head and hole shape. Once the angle and depth line up, a flat-head screw drops in clean and stays there.
What a countersink actually cuts
A countersink bit is a conical cutter. It shapes the top of an existing hole rather than drilling one.
A flat-head screw has a taper under the head. The countersink cuts a matching cone so that taper can seat fully, leaving the head level with the face without catching hands or cloth.
The cut also forms a chamfer, breaking the sharp rim left by the twist drill. It provides light deburring, shaving the curled edge clear instead of trapping it under the head.
A twist drill comes first, making the straight pilot hole for the screw body. The countersink widens only the mouth. Most look like a short cone on a straight shank for a hand drill or drill press.
Depth stays shallow. Remove only enough stock to house the head; cutting deeper drops it below the face and reduces bearing support. The cone angle is ground into the tool and can’t change during use, so choose it before cutting.
Why the angle has to match the screw
Flat-head screws have different tapers. Many inch-series screws have an 82° head angle under ASME B18.6.3. Many metric countersunk screws have a 90° angle under ISO 2009 and ISO 10642. That’s why 82° versus 90° comes up so often.
A thread label describes thread form and diameter, not the head taper. That applies to metric labels too. Check the drawing first and read the head angle from the fastener specification or maker sheet for the exact screw.
Mismatched angles leave the head bearing on a narrow ring instead of across the taper. It may sit proud on one edge or feel tight before seating. Tightening harder won’t fix it: the head will stand above the surface or pull unevenly and distort soft stock.
Countersinks are stamped with their angle. Keep 82° and 90° cutters separate and label boxes when mixing systems. Holding the screw against the tool cone can catch a mix-up, but the drawing governs tight tolerances. Don’t guess.
How to size diameter and depth from the screw
Start with the screw. Measure head diameter across the top and head height from the top face to the shank. Choose a countersink whose cutting range accommodates the head diameter. An undersized tool cannot form the full seat; an adequately sized tool still needs depth control to avoid an oversized recess.
Set depth to head height, not screw length. The shank and threads belong in the pilot hole; only the head belongs in the cone. Beginners often feed until the tool looks deep enough, then discover a buried head needing filler around it.
Use a stop collar or drill-press depth stop. A collar clamps onto the shank and contacts the surface at the same point each time. A press stop controls repeat depth and helps keep pressure even. Hand pressure alone won’t produce consistent depth across ten or twenty holes.
Test scrap of the same thickness and hardness using the same pilot size, stop setting, and actual screw. Look across the surface at eye level: the head should finish level and turn without rocking. Adjust the stop incrementally. That test saves a finished part.
The hole sequence that keeps screws concentric
Good flush fits start with order. Mark the hole center with a sharp pencil or scribe, then center-punch it to prevent drill wandering. Clamp the part against spinning or lifting, wear eye protection, and keep hands clear of the chuck and bit.
Drill the pilot with a twist drill matched to the screw and stock. Size depends on screw type, thread size, and whether the material is softwood, hardwood, sheet metal, or thick plate. Use maker charts or screw-box guidance rather than habit. Drill straight, stopping the spindle before backing out to clear chips; never put fingers near turning flutes.
Countersink the clean, straight pilot hole using the tool maker’s speed and feed for that diameter and stock. Pine settings won’t suit stainless plate. Combination drill-countersink bits make the pilot and cone in one pass, saving time in thin wood and sheet work. They still need a depth setting and scrap test because the cone forms quickly.
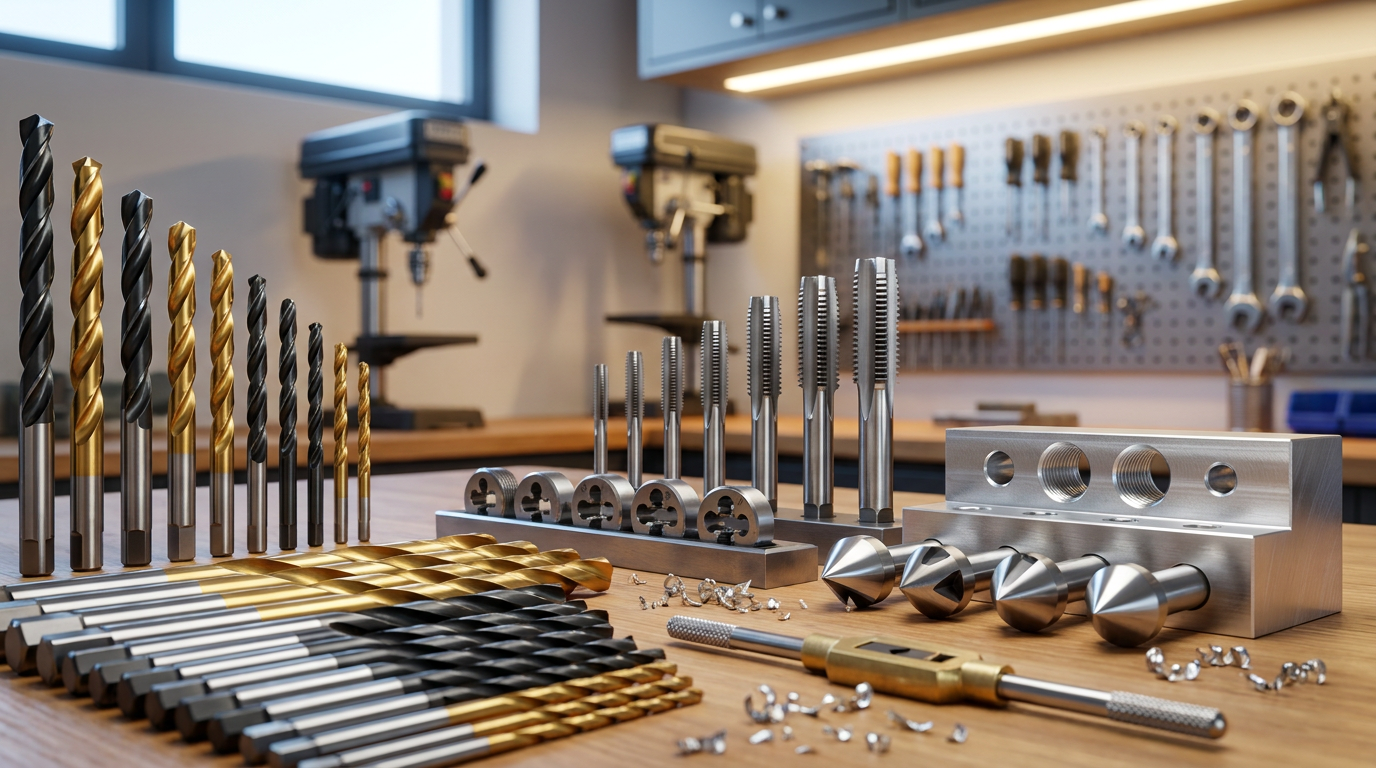
Many beginners build a kit around drills taps button countersinks from one supplier page to keep sizes and thread references together, but each tool must suit the fastener drawing and stock. For threaded holes, tap after drilling and before assembly; use a die for external threads on rod or studs. Keep gloves away from rotating tools and stop before clearing chips or measuring.
Flute shape, speed and how the cut behaves
Flutes carry swarf out of the cone. Single-flute countersinks have one large cutting edge and open chip space; multi-flute tools distribute cutting across smaller edges. Both work in wood and metal with suitable setups. Chip flow, finish, and chatter depend on stock, tool condition, speed, and rigidity.
Choose flute count using tool maker guidance, not habit alone. Single-flute tools often clear bulky chips quickly in wood and soft plastic. In metal, edge condition and rigidity matter as much as flute count. Dull edges tear and squeal even at modest speeds; sharp edges with correct feed leave smooth cones needing no cleanup.
Follow maker speed and feed data for diameter and stock. Smaller diameters tolerate higher spindle speeds; hard stock needs slower speeds, steady feed, and firm clamping. Stop if chatter or rings appear. Check clamping, overhang, pilot straightness, and edge wear before pushing harder.
Fluid choice also follows stock and maker guidance. Some steels need specific cutting fluids to protect the edge and finish; wood and many plastics run dry. One oil won’t suit every job, and extra fluid won’t fix dullness. Wipe the cone between holes and inspect for an even finish without torn patches or raised burrs.
How countersinking differs from counterboring and spot facing
Beginners often confuse three hole finishes that look similar in photos. They serve different fasteners.
Countersinking cuts a cone supporting a flat-head screw’s tapered underside. Depth matches head height, and diameter matches head size.
Counterboring cuts straight walls and a flat floor for a socket-head cap screw with straight sides and a flat underside. It uses a piloted counterbore, not a cone. Depth allows cap height and driver clearance; diameter matches the cap rather than the thread.
Spot facing makes a shallow, flat seat for a bolt head or washer on rough cast stock or a weldment. It cleans the bearing area without housing the whole head, spreading clamping load evenly.
The wrong finish causes trouble. A flat-head screw wobbles in a counterbore and won’t center; a cap screw bears on an edge in a countersink and tilts under load. Match tapered heads to cones and straight-sided heads to flat floors. Level an uneven casting before seating a bolt.
Choosing tool material for the stock at hand
Tool steel determines how long the angle stays true. High-speed steel suits general work in wood and soft metals within maker speed and feed limits. It’s readily available and easy to replace when dull.
Cobalt-containing high-speed steel can suit some tougher materials, including certain stainless steels, when the cutter manufacturer specifies it for the workpiece hardness. Its higher price makes it worth reserving for work that quickly dulls plain high-speed steel or wears its angle.
Carbide suits high-volume runs and abrasive stock, holding size and cone angle through many holes. It’s more brittle than steel tools and needs rigid clamping without side loads. A knock or loose part can chip it.
Judge any grade by its cut. A fresh edge makes a smooth cone with light pressure; a worn one needs force, heats quickly, and leaves chatter or a glazed ring that seats poorly. Replace or resharpen dull tools to maker angles, then retest on scrap.
Testing and small mistakes that spoil a flush fit
Opening a hole with a larger twist drill instead of a countersink is a troublesome shortcut. Without cone guidance, the drill grabs and digs, leaving a jagged mouth and uneven walls. The head bears on high spots and sits crooked. Even a basic countersink gives better roundness and repeat depth.
Watch for over-sinking when judging depth from above with the drill turning. The cone looks small, encouraging deeper cuts. Stop the spindle, clear the chip, insert the screw, and sight across the face. Test depth on scrap until the head finishes level without force.
An undersized cone leaves the head’s outer edge on the surface while the taper floats. The joint may feel tight, yet the proud head snags. Enlarge the cone in light passes until the head seats with full taper contact, then lock the stop for the remaining holes.
Flush fasteners prevent snagging on clothing and hands while spreading bearing load across the taper rather than one edge. They pass glance checks in joinery and closer metal-assembly inspections for even seating. Getting there means measuring the screw, reading its angle from the drawing, setting a depth stop, and testing scrap before cutting good stock.
Flush work depends on matching the tool to the screw and proving the setting before committing, rather than relying on a steady hand.